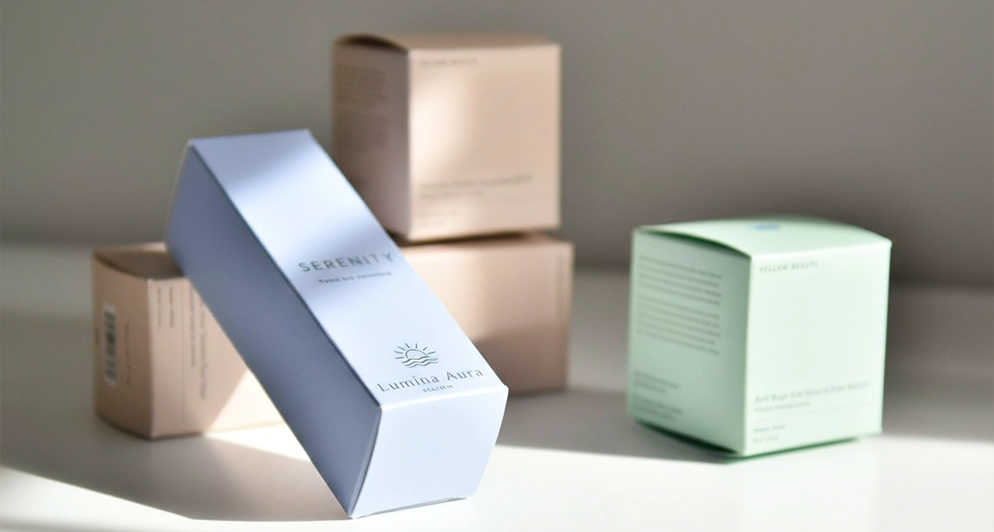
Embossing and debossing are the same process pointed in opposite directions. A metal die presses the board, and the artwork either rises above the surface or sinks below it. The choice is usually made on look, but the more useful way to decide is by substrate, because the board you are printing on limits what each technique can hold.
How each one works
Embossing uses a die and a matching counter die. The board is pressed between them so the artwork stands proud of the surface. Because the board has to stretch into the raised shape, the fibres and any coating on top of them are under tension at the edges of the emboss.
Debossing presses the die into the board from the front, pushing the artwork below the surface. The board compresses rather than stretching, which is a gentler thing to ask of it. On thicker substrates a deep deboss reads beautifully by touch alone.
Which substrate suits which
| Substrate | Emboss | Deboss |
|---|---|---|
| Rigid box, wrapped paper over chipboard | Excellent, the chipboard supports the shape | Excellent, holds a deep crisp impression |
| Heavy folding carton | Good with moderate depth | Very good |
| Light folding carton | Risk of cracking the coating at the edges | Safer, less stress on the surface |
| Uncoated kraft | Good, the texture hides minor stress | Very good, high contrast in raking light |
| Corrugated | Limited, the flute crushes under the die | Limited for the same reason |
Combining with foil and print
Three combinations come up constantly. A blind emboss or deboss has no ink or foil, so it reads only as texture and shadow. A registered emboss over a printed area needs tight registration and is where most problems occur, because any drift shows as a halo. A foil emboss, where a foil die stamps and forms in one pass, gives the sharpest result of the three because the foil and the shape are created together. If foil is part of the plan, look at the options on the foil stamped boxes page before you finalise the artwork.
Design limits worth knowing before you draw
- Stroke width. Hairlines and fine serifs disappear. Give every element enough width to form, and test small type at actual size on a proof rather than on screen.
- Distance from scores and glue flaps. A formed area near a fold weakens it, and glue will not hold on a deformed or coated surface.
- What shows on the reverse. On a single sheet, an emboss makes a hollow on the back. On a wrapped rigid box, the chipboard hides it. That difference decides whether you can emboss a panel that is visible from both sides.
- Multi level and sculpted dies. They give a far richer result and cost more to make, so raise the idea early rather than after the artwork is approved.
Supplying the artwork
Put the emboss or deboss area on its own named layer as vector paths, in a flat spot colour so it is unambiguous, and never flattened into the printed art. Label it clearly as emboss or deboss and state the depth or effect you are after in plain words. The digital proof included with every order is the point at which to check registration against the print. The file preparation rules are on what resolution does packaging artwork need.
Quantities, cost and timing
Finished work starts at 100 units, from about $0.48 per unit at bulk volumes, confirmed on your written quote, with the die, the plates, design support, US shipping and a digital proof included. Turnaround is stated per product in three lanes, rush (expedited production plus air freight), standard (air) and cost saver (sea), from about 7 business days of production plus 2 to 5 days for delivery. Specialty finishes and imported rigid work can run up to about 12 weeks, so build the extra time into a launch date.
Send your artwork and say which areas you want raised or recessed, and we will tell you what the board will hold. Start at request a quote, or see the format on the custom rigid gift boxes page.