


Payment Methods:

Cupcake Boxes

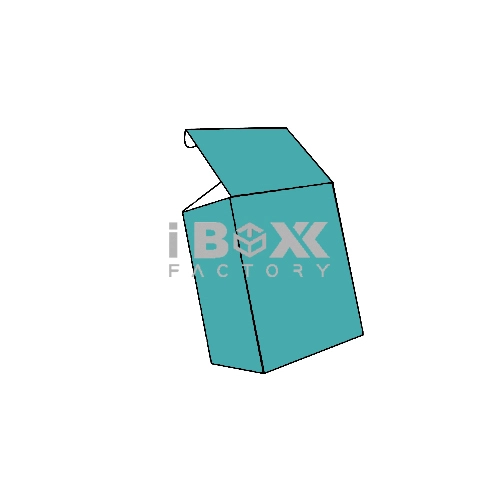
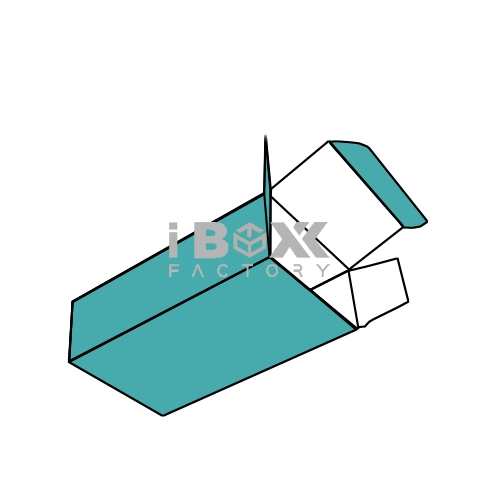
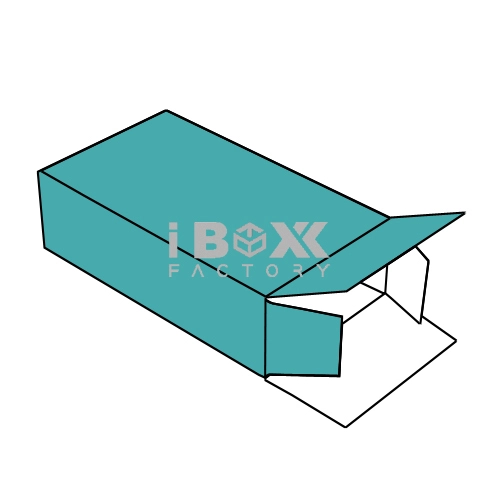
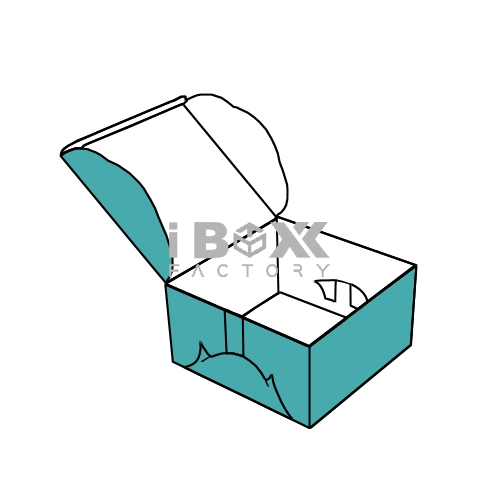
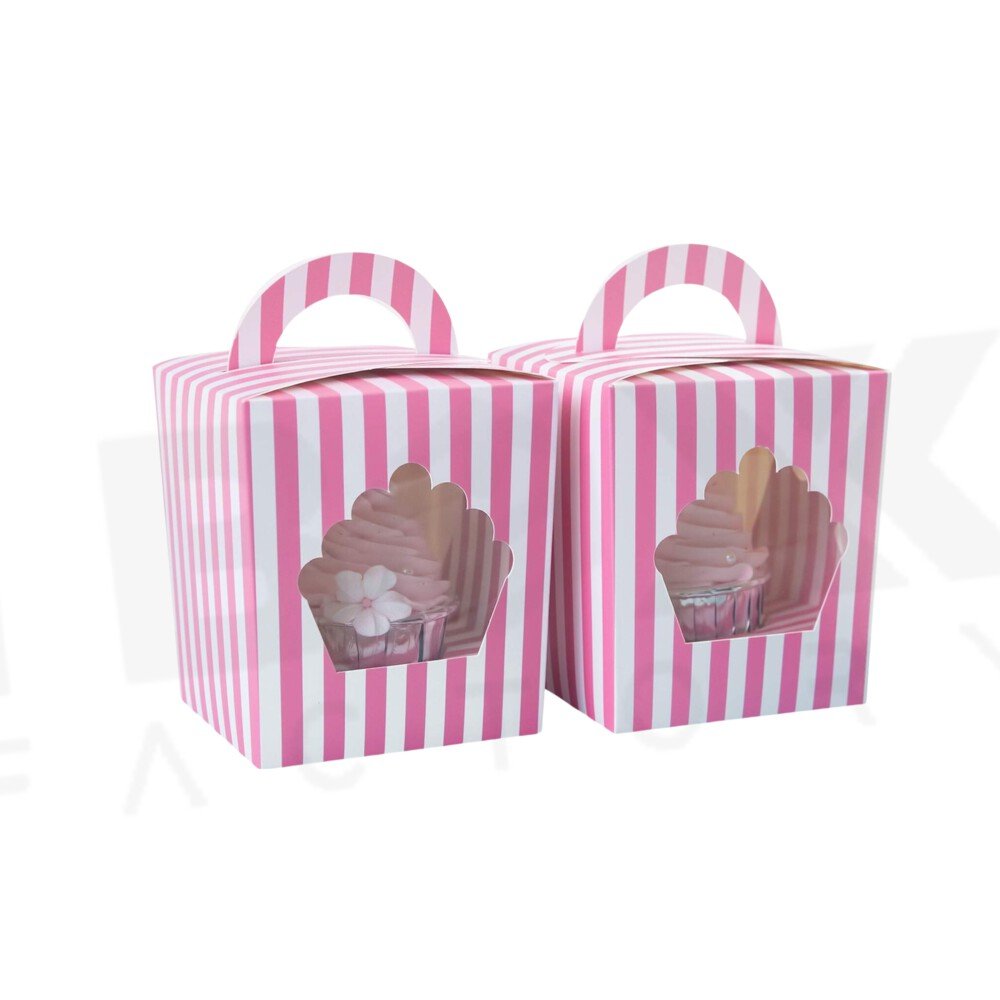
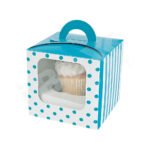
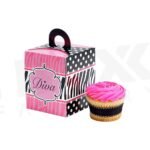
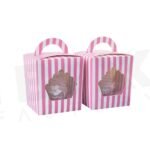
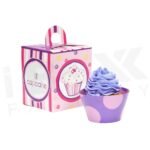
Besides being a delicious treat, cupcakes are a popular single-serving gift, custom cupcake boxes make them a trendy giveaway at weddings, birthdays, and even corporate events. Securing these cupcakes most effectively is essential for cupcake makers. This is where our eco-friendly custom boxes come in. These boxes not only protect the cupcakes but also display them most attractively.  Get more details below, or request a quick quote.

Description

Customization Options for Cupcake boxes:

  • Custom Size and Shape: Custom Cupcake Boxes can be made in different shapes and sizes to fit all sorts of cupcakes.
  • Material Choices: Choose from various materials including eco-friendly resources, cardstock, or corrugated cardboard.
  • Color Options: Select from the existing color palette or request custom hues to satisfy your desired theme.
  • Finishes: Enrich the final look of custom cupcake boxes with, glossy, matte, or soft-touch finishes for a premium feel.
  • Coatings: Add visual appeal to your product by applying spot UV coating, embossing, debossing, or foil stamping.
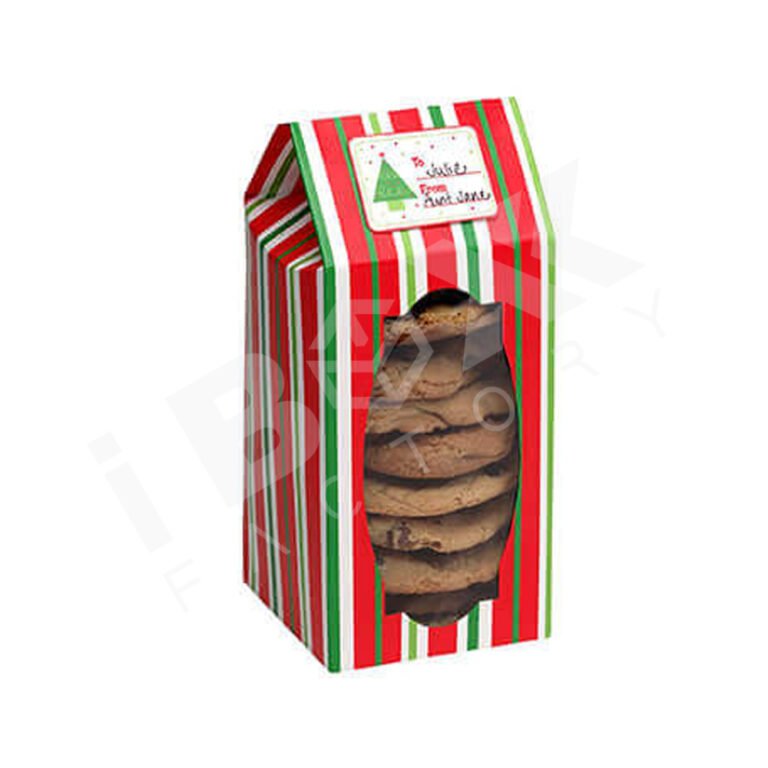
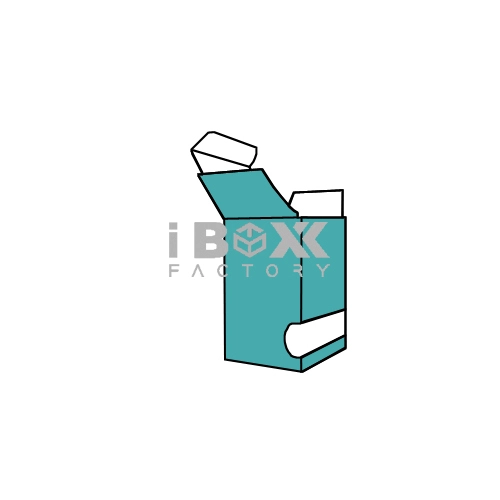
  • Window Cutouts: Showcase your product through a small transparent window on the cupcake box.
  • Branding: Add your logo, business name, or custom-printed labels to create an impression on the people you engage with.
  • Inserts and Dividers: Secure cupcakes and prevent movement by adding inserts such as cupcake holders.
  • Custom Printings: Customize the complete design of the cupcake box and even add a personalized message to make it more special.


Why should you choose custom packaging for cupcakes?

You can achieve brand recognition by Customized designs and logos that make your products unforgettable. An attractive Presentation of custom cupcake boxes will grab more customers. By effective custom packaging, you can prevent damage and contamination and also ensure freshness. The Variety of sizes and shapes can cater to various customer preferences. You can reduce waste and minimize environmental damage with Sustainable materials. It can play an Effective Marketing role in promoting your brand with customized packaging that creates a cohesive image. 


Follow these easy steps to receive your boxes right at your doorstep:

  1. Share the dimensions of your box
  2. Select the appropriate box style
  3. Choose the best material
  4. Pick your desired color (CMYK or Pantone)
  5. Upload your artwork
  6. Place your order

For further details, you can contact our live web chat support agent or reach us via phone and email using the contact information provided on our website.


Specifications

Printing

CMYK, PMS, No Printing

Paper Stock

10pt to 28pt (60lb to 400lb) Eco-Friendly Kraft, E-flute Corrugated, Bux Board, Cardstock

Quantities

100 – 500,000

Coating

Gloss, Matte, Spot UV

Default Process

Die Cutting, Gluing, Scoring, Perforation

Options

Custom Window Cut Out, Gold/Silver Foiling, Embossing, Raised Ink, PVC Sheet.

Proof

Flat View, 3D Mock-up, Physical Sampling (On request)

Turn Around Time

6-8 Business Days, Rush

Order Process

Choose Your Custom Packaging Boxes

We have a wide range of boxes, select one or write for others.

Request a Free Instant Quote

Complete our quote form to receive a customized quote from our product specialists.

Finalize Your Order

After getting the awesome price, just say print it!

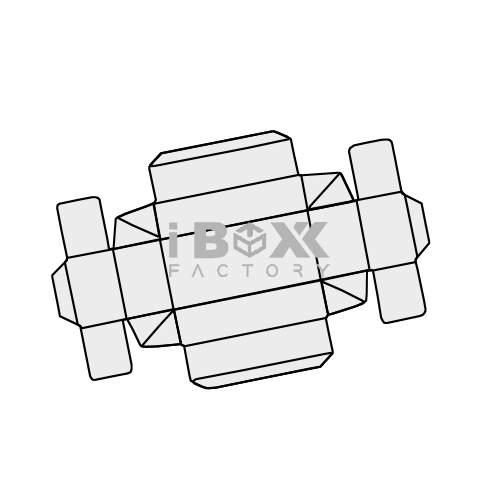
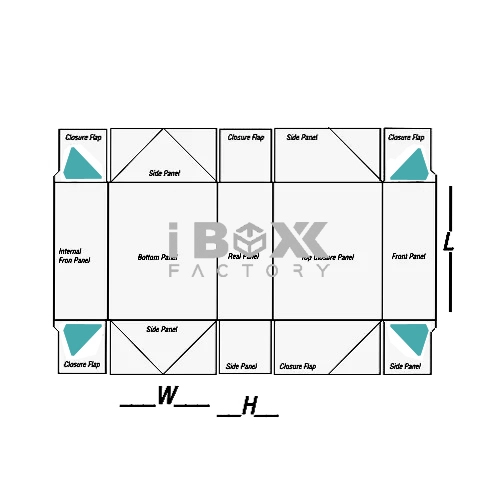
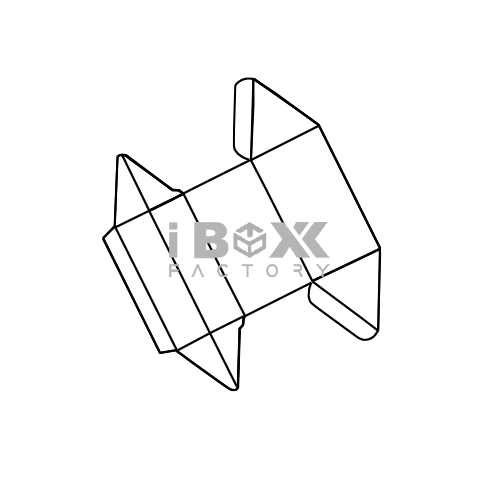
Time to Make a Custom Dieline

We will help you with completely custom dielines according to your needs

Get Creative with Artwork

Collaborate with our design experts for you top notch artwork

Visualize Your Packaging with Mockups

We will send you 3D mockups of your print ready packaging

Roll-on Production!

After approving everything, sit back and relax, while we produce

Artwork Preparation Guide

Cut Line (Black Line)

Indicates the cut at its final size. Important artwork and text should be placed at least 0.125 inches inside of the cut line.

Perforation (Dotted Black Lines)

Perforation line refers to paper that is punched with very small holes to allow the paper to be torn and folded easily.

Bleed Line (Red Lines)

Indicates where the bleed line is located. Any artwork which goes to the cut line should be extended to the bleed line to get a seamless print.

Crease Line (Green Lines)

Indicates where the product is to be folded.

Safety Margin (Dotted Green Lines)

Indicates where artwork and text should safely be placed inside. As an industry standard, all artwork should at least be placed 0.125 inches away from the cut line unless your design is intentional.

Customer Reviews