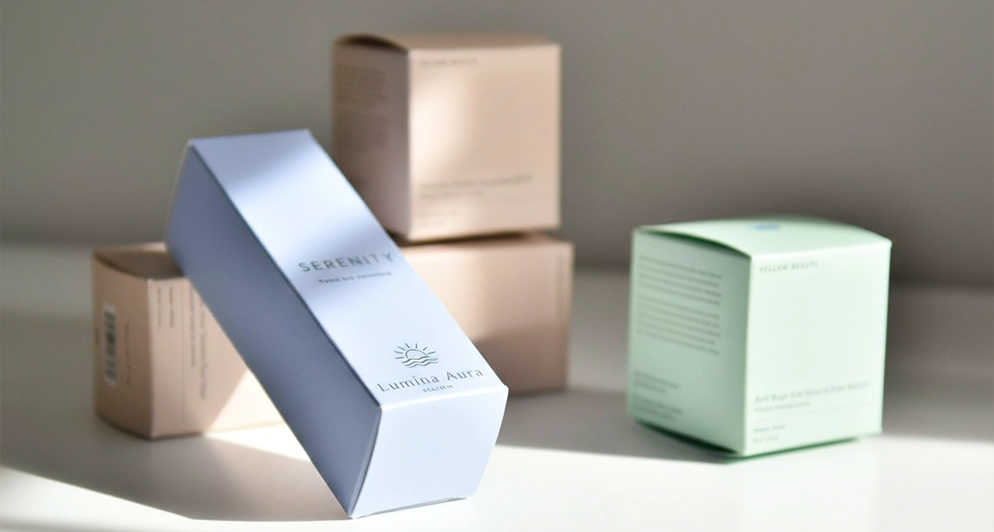
Bleed is the artwork that gets thrown away. You extend the background, the colour block or the image past the edge where the box will actually be cut, so that when the die lands a fraction out of position, the printed area still reaches the edge. Without it you get a thin white line down one side of a panel, and on a coloured box that line is the first thing anyone notices.
How much bleed to add
The widely used allowance in commercial print is 1/8 inch, about 3 mm, past every cut line. Packaging asks for a little more attention than flat print because the piece is not just trimmed, it is die cut and folded, and some areas need the art carried further than others.
| Area | What to do |
|---|---|
| Outer cut edges | Extend the background past the cut line by the allowance on the dieline |
| Glue flaps | Usually left unprinted or lightly printed, because ink can weaken the bond |
| Fold lines | Carry colour across the fold so a slight shift in creasing does not expose board |
| Window openings | Extend art into the opening, since the window is cut after printing |
| Rigid box wraps | The wrap turns in over the board edge, so the printed sheet is larger than the panel it covers |
Safety margin, the other half of the rule
Bleed protects the outside. The safety margin protects the inside. Keep text, logos, barcodes and any element that must not be clipped set in from the cut line by the same sort of distance. Elements near a fold need more room still, because a crease running through a word makes it unreadable even when nothing was trimmed.
Supplying artwork that does not come back
- Work on the supplied dieline, in the layer structure it arrives in, and leave the dieline layer intact and unprinted.
- Supply vector where you can. Convert fonts to outlines so nothing substitutes.
- Raster images should be at print resolution at final size. Scaling a small file up on the page is the most common cause of a soft printed panel.
- Build in CMYK, and call out any spot colour by its reference rather than approximating it in process inks.
- Flag anything that needs a separate pass: foil, spot gloss, emboss. Each of those needs its own layer, in solid black, on the dieline.
What gets caught at proof
A digital proof is sent before anything prints, on every order. The issues that show up most often are art that stops exactly at the cut line, barcodes sitting too close to a fold, type crossing a crease, and files built to a dieline from a previous version of the box. All of them are cheap to fix at proof stage and expensive to fix after a run.
Ordering
The minimum is 100 boxes and pricing starts from about $0.48 per unit at bulk volumes, confirmed on your written quote. Turnaround is quoted per product in three lanes: rush, which is expedited production plus air freight, standard on air, and cost saver on sea, from about 7 business days in production plus 2 to 5 days for delivery. Design support, the cutting die, the printing plates, US shipping and the digital proof are included, which means you can ask for the dieline before you have finished the artwork and lay the design straight into it.
If your artwork involves a metallic pass, read what foil stamping is before you build the file, because foil needs its own artwork layer. When you are ready, send your dimensions and your art status with a quote request and we will send a dieline back with the bleed already built in.